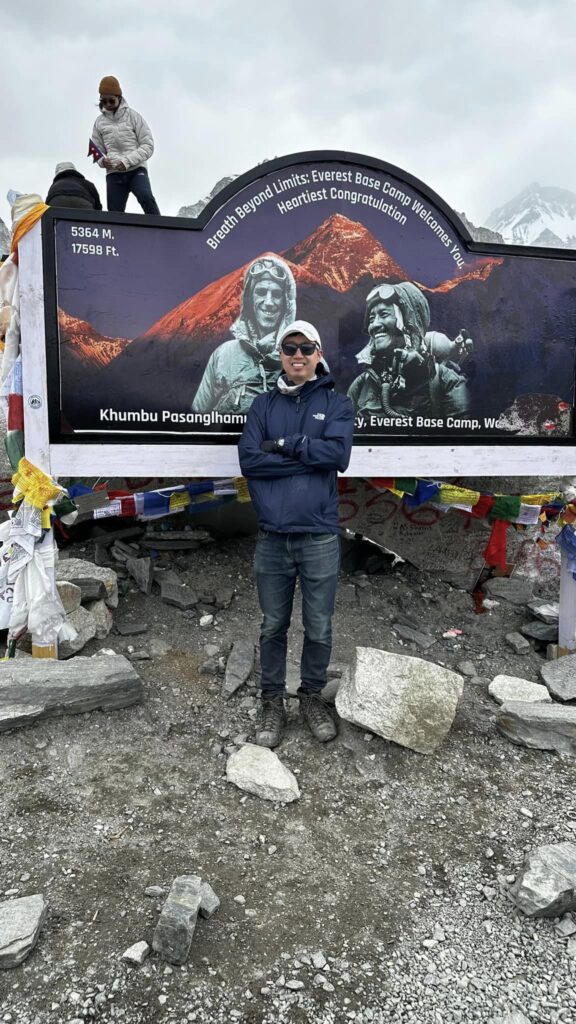
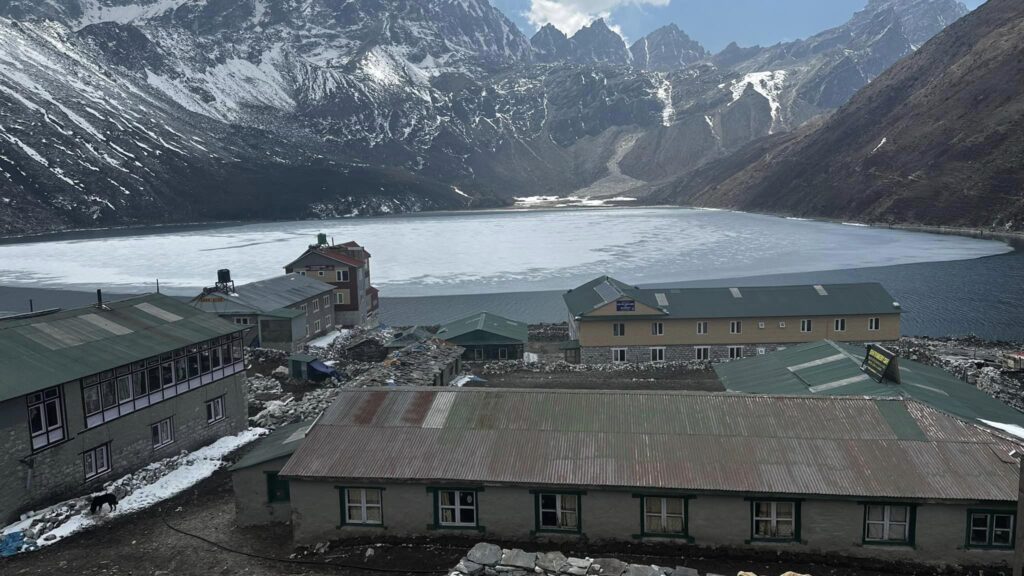
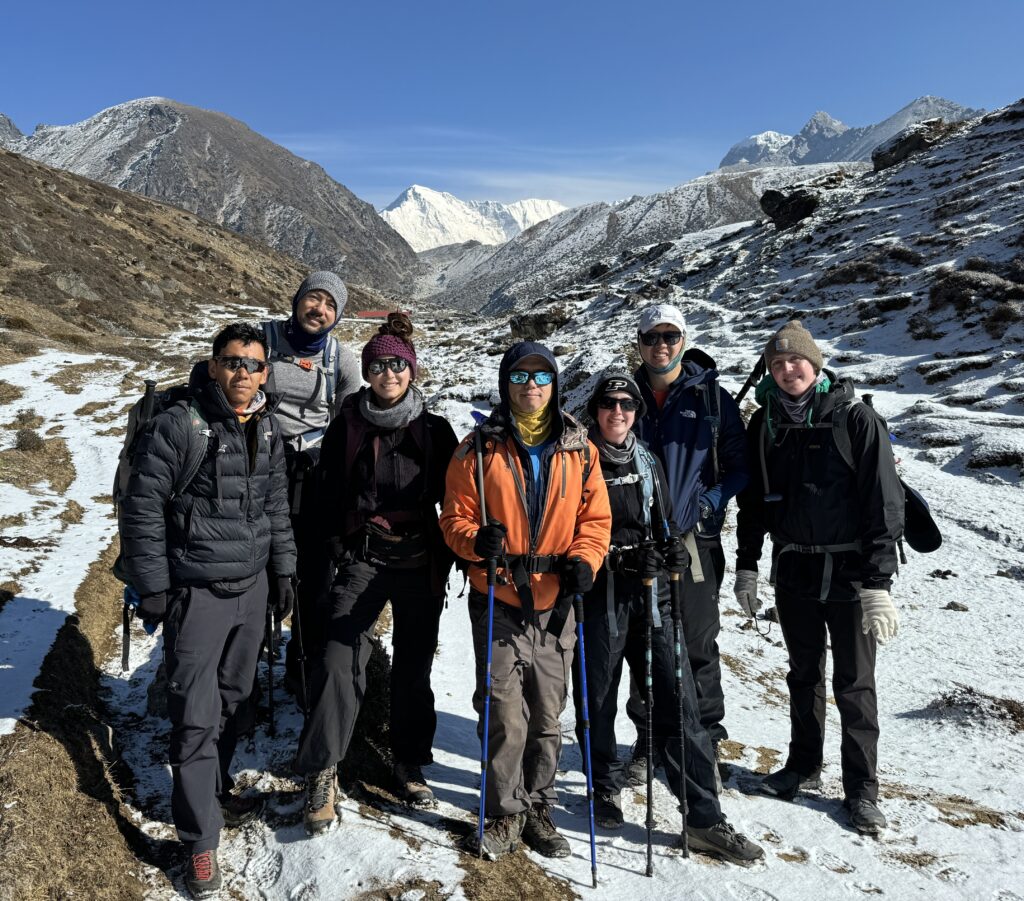
I just finished up a 12 day trek through Everest Base Camp, Kala Patthar, Chola Pass, and Gokyo lake in the Himalayan region of Nepal🇳🇵! It was physically and mentally challenging but totally worth it for the views, and getting insights into the local culture of the Himalayan regions.
There’s a lot of information and tips out there already [1] [2] [3] [4] but hopefully I can add a bit more detail and practical tips that aren’t just normal trekking tips, as that’s pretty well covered. Many of these tips will also apply to other trekking regions in Nepal as well, such as the Annapurna Circuit.
Table of Contents
Insurance
Insurance is a decently covered topic. While regular travel insurance (often provided on good credit cards) will cover regular travel mishaps such as delayed and cancelled flights, it doesn’t cut it for high altitude hiking as rescues and helicopter evacuations won’t be covered. The biggest risks for EBC are either severe altitude sickness requiring evacuation, or some trekking injury requiring evacuation and treatment, or a natural disaster such as the 2015 earthquake.
There are a number of providers out there and it can be hard to choose. Look for the following:
- Make sure the coverage includes emergency medical evacuation.
- Make sure the policy does not exclude the altitude you will be going to. For most of the major treks in Nepal like the Annapurna Circuit or EBC, you need coverage up to 6000m. If you are doing a trekking peak such as Island Peak or Mera Peak, you need cover up to 6500m.
- Make sure the coverage includes the activity you are doing, most likely Trekking or Hiking. Mountaineering with fixed ropes, etc. is sometimes classified as a separate activity.
Here are some of the major providers I found for residents of different countries. Costs seem to be around $150-250 USD for a 2-3 week trip:
- True Traveller (For UK)
- Europ Assistance (For EU)
- World Nomads (For US, Canada, UK, Worldwide excluding EU)
- Travel Guard (For US)
- Insure and Go (For United Kingdom)
- Campbell Irvine (for United Kingdom)
- Travel Insurance Consultants (For South Africa)
- 1Cover Travel Insurance (For Australia and New Zealand)
- Covermore AU (For Australia)
- Global Rescue (Worldwide)
- Allianz (Worldwide)
World Nomads is mentioned a lot when searching around. The best price for World Nomads seems to be for US residents, and Adventure Sports seems to be covered by default.
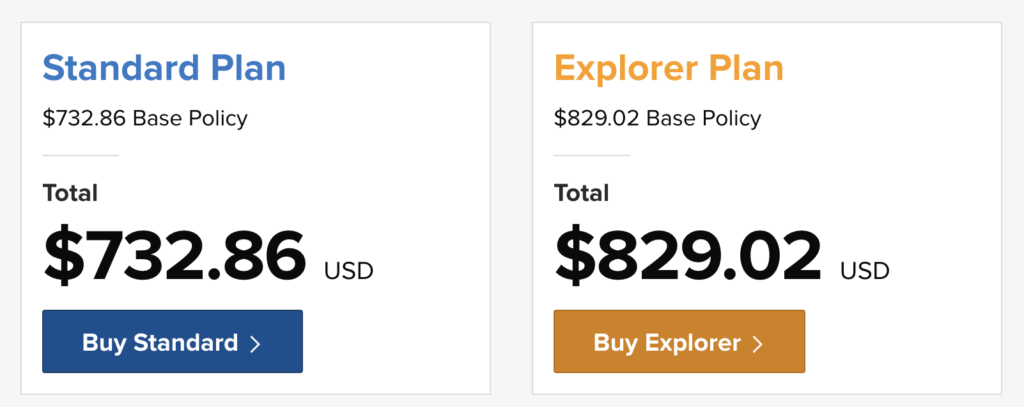
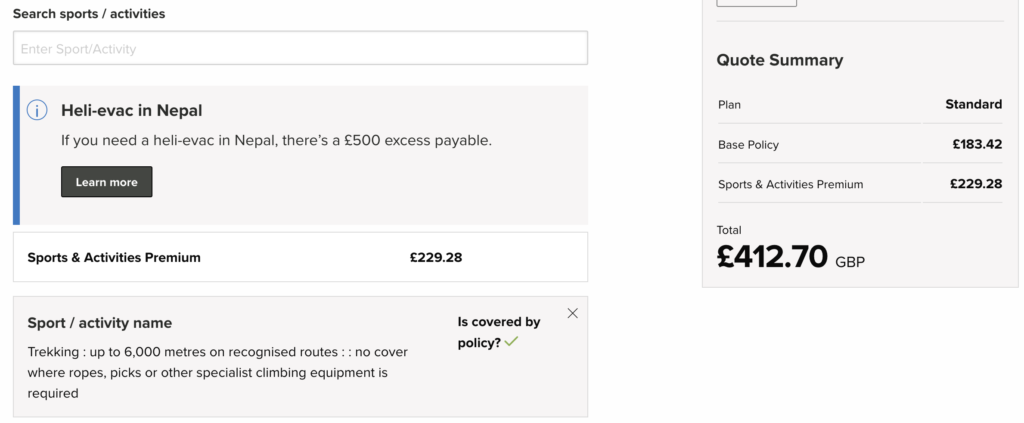
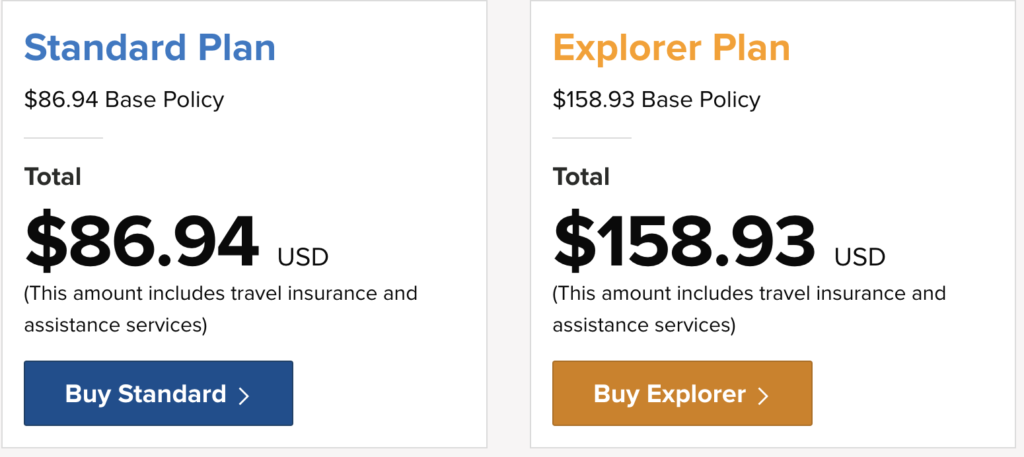
For non-US residents, either you have to specifically add in trekking, or the base policy price jumps up a lot. The base price as a resident in Asia was fairly high at >$700 USD, and for the UK I had to specify trekking with a surcharge of £229.28 and a policy excess of £500 if Helicopter Rescue is necessary. EU residents are not supported either. World Nomads doesn’t seem to offer annual policies.
You can use our referral link for World Nomads to support our site!
Another provider you frequently hear about is Global Rescue. They aren’t a travel insurance company (though travel + medical insurance can be added), rather a membership program that covers emergency medical rescue. The best thing about the program is that they likely to be the ones coordinating your rescue or even leading rescue teams, rather than just a 3rd party insurance company. There’s no exclusions for activities at any altitude, and very little BS with the program. If you want more peace of mind, this is the way to go.
The annual plan came out to be $754, which I went for over the short term membership that would only cover this trip costing $574. Apparently FoundersCard has a 15% discount, though I missed that and used a different 5% discount (these can be found easily searching on the internet).
Fortunately, I made it through the trek without any issues, so I’ll have Global Rescue for the rest of the year just in case.
Internet
While it’s nice to do a digital detox on such a beautiful trek, sometimes you want to keep in touch with your loved ones, upload some social media posts, or relieve some boredom by browsing the web! Plus, being able to contact the outside world in case of emergency is always good. I found a good overview on the options during the trek, but these are my notes.
Mobile Service
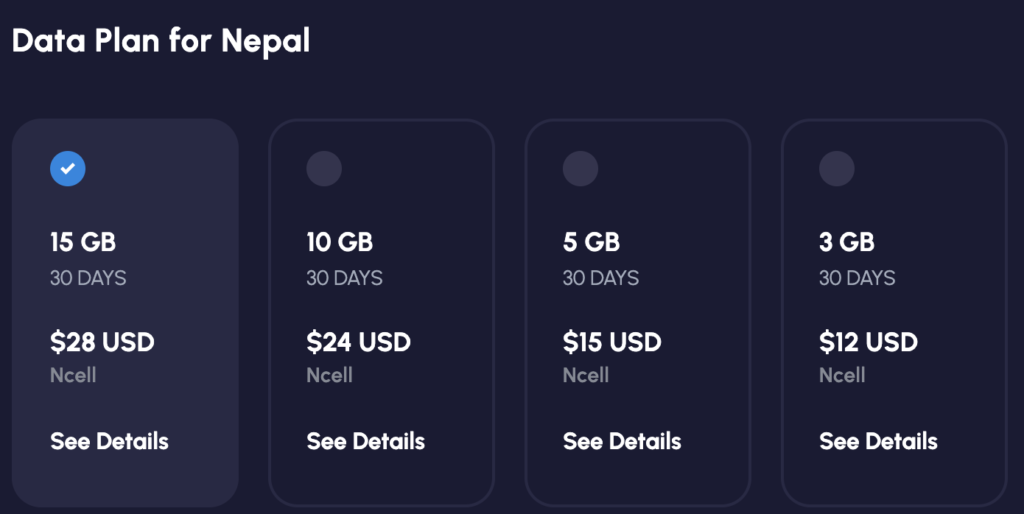
eSIMs are getting popular nowadays for their ease of installation and reasonable pricing. However, eSIMs for Nepal remain quite pricey. For example Airalo is coming in at $9.50 USD for 1 GB valid for 7 days! I was also recommended Nomad but that is still $24/$28 USD for 10 GB/15 GB. Plus with eSIMs you may get a data only plan that doesn’t support texts or calls, which might come in handy on your trek.
For traditional local SIM options, the two most used cell service providers are Ncell and Nepal Telecom (NTC). I had heard that Ncell was building a bunch of towers, all the way to Base Camp, but then read reports elsewhere that Nepal Telecom generally provided better speeds and coverage. SIM cards are available right at Kathmandu International Airport from both Ncell and Nepal Telecom. You can buy. The packages seem to change often, I remember the pricing I saw in April 2024 was 900 NPR at Nepal Telecom for a 20GB package valid for 28 days, and 1000 NPR at NCell for a 25 GB package valid for 15 days, plus 50 NPR if you didn’t bring a passport photograph. However, you can also just get a free SIM from Nepal Telecom after filling out the form, or pay 110 NPR for a SIM from NCell and fill it up later online through their app with a credit card for cheaper pricing (the 20 GB package is 500 NPR at Nepal Telecom and there are a number of attractive packages with Ncell). The difference is only a few dollars though, and if you want to get online right away you can just pay a bit more. The real trick if you need more reliable data is to get SIMs from both companies, which is what many guides do.
WiFi
At lower altitudes like Lukla, WiFi may be free at the teahouses or cafes / eateries. There were a few spots with free WiFi in Namche Bazaar though our teahouse charged for WiFi (as I was getting data, I didn’t pay). After this, WiFi was generally paid, though I saw a different possibilities:
Teahouse paid WiFi
The teahouse would provide unlimited WiFi for your stay for a fixed charge, by giving you the password to their network. This ranged between 500 to 700 NPR. The hack is to have one person pay then share the password with the group. 😉
Airlink
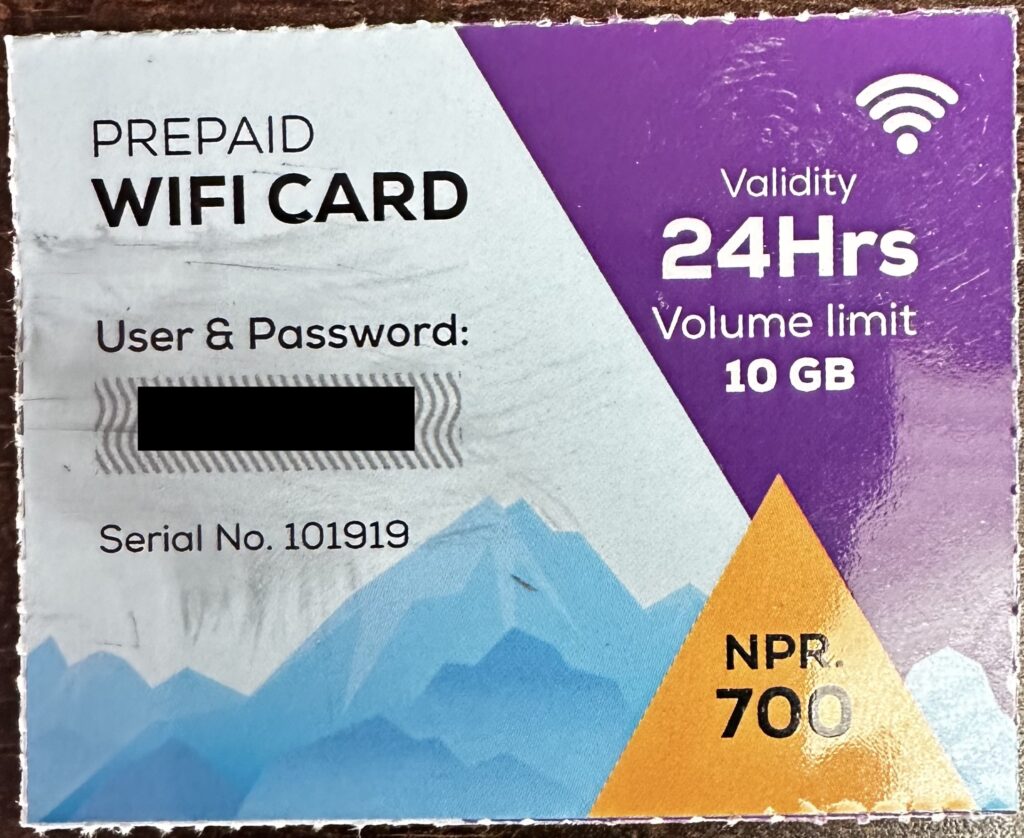
Airlink is a newish ISP started in 2016 with the goal of providing internet to remote regions of Nepal. Typically a teahouse runs their own repeater with a unique SSID, and you buy a voucher either from the teahouse or an outside shop. After connecting to the teahouse specific network, you enter in the voucher code and your session starts. You seem to be able to use the same device on different Airlink networks, but not different devices as it will tell you there are too many sessions for the same code. Thus I was able to use Airlink at one village for lunch then keep using it at night and the next day at a different vllage. I found Airlink services reasonably fast depending on how many users were on at the same time (averaging around 500 KBPs – 1 MBPs), good enough for browsing the web and uploading Instagram reels). You buy vouchers – current prices as of April 2024 were 700 NPR for 24 hours, with a limit of 10 GB. I found out afterwards that supposedly there are also 48 hour cards for 1200 NPR (unknown data limit, possibly 20 GB), but those might need to be bought in shops instead of teahouses. Apparently this used to be unlimited, but must have changed recently. I didn’t see these discounted anywhere.
Everest Link
Everest Link runs their own WiFi hotspots in each major village. You can buy vouchers for 2000 NPR for 10GB, or 3000 NPR for 20GB, both valid for 30 days in shops in Kathmandu, Lukla, and Namche Bazaar. I remember vaguely seeing some Everest Link hotspots available on my trek, but the individual teahouses would be selling Airlink cards. Apparently they are less reliable than Airlink and frequently go down.
Conclusions / Which to choose?
If you have some models of Android phone (Samsung S series, Pixel, possibly others), you can actually reshare WiFi connections with others! This makes it so you really only have to have 1 person buy WiFi, and you can just reshare the network with other people in a group. Unfortunately iPhones don’t have this feature. For a group of 7, we used about 15 GB of data over 4 days of resharing the hotspot.
If you are a small group and don’t mind that Everest Link is somewhat unreliable, then getting an Everest Link voucher might be more cost effective. However, if you prefer a more reliable network, picking up 48 hour Airlink Vouchers (past Namche Bazaar) might be more effective.
Charging
Keeping your devices charged is important so you can record those important moments! However, as electricity is more unreliable in remote regions, the prices to charge correspondingly increase as well. Up until Namche Bazaar, charging was generally free, with power ports generally located within each room.
As we got higher, the prices to charge kept going up, from 300 NPR an hour to charge, to 350-500 NPR a device, and 600-1000 NPR to charge a power bank. The most ridiculous one I heard was 4000 NPR to enable the charging ports in our rooms for our stay, presumably because there were electric blankets attached. I would bring multiple portable batteries if possible and keep those fully charged earlier in the trek for later. I had one of these with a built in solar charger, and even after a few hours of direct sunlight, it barely charged, so not recommended.
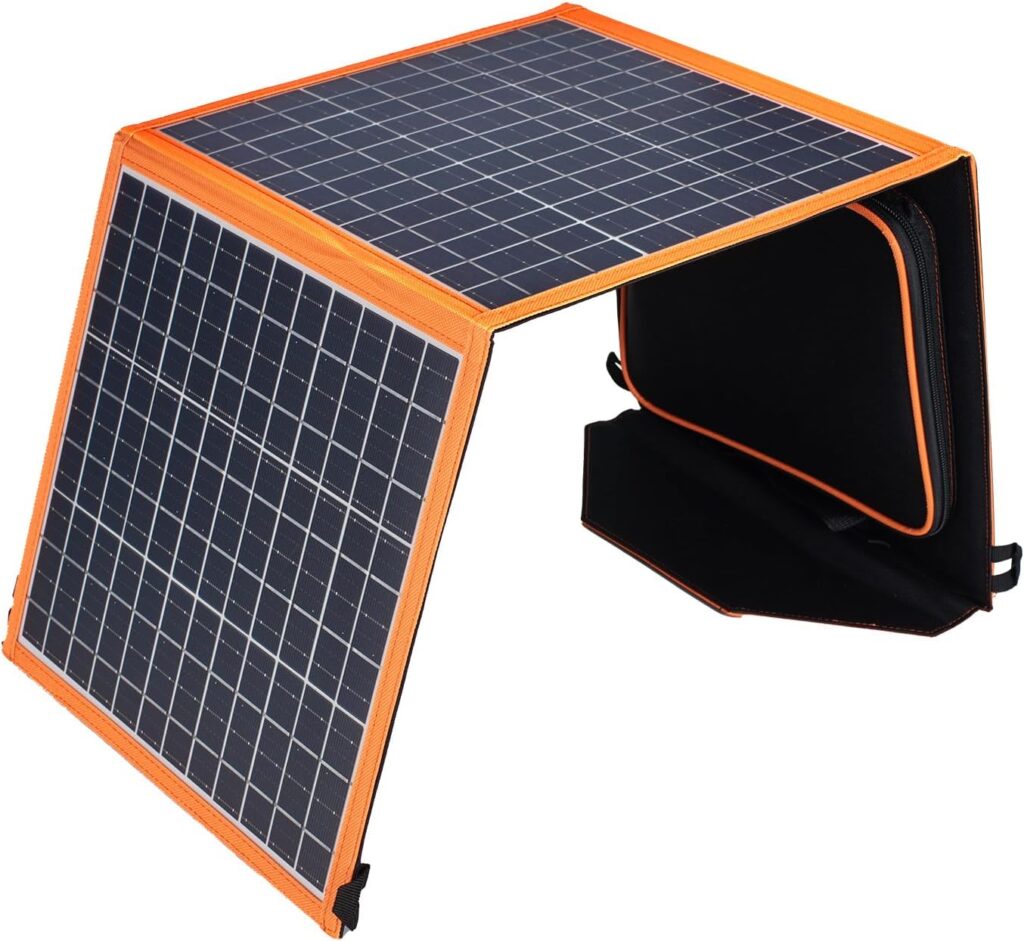
Instead, I would also get a larger portable solar panel that you can hang off your backpack if keeping charged for minimal cost is your goal. Make sure it’s waterproof! Or you could be unethical and get a device that converts lightbulb sockets into charging ports (not actually recommended).
Gear
I will gloss over gear as many other sites have covered this very well. I was very happy with my Osprey daypack which I kept very light with only essentials, and had the rest in a duffel bag which was carried by a porter. Water – a 2L hydration pack plus a separate small bottle was completely sufficient for all days. My hydration pack tube would freeze on the colder days, so either get an insulated tube or use the water bottle for those days. I did NOT rent a sleeping bag to save on space – even though it did get cold some nights, either I just wore all my clothes or asked for extra blankets from the teahouses which worked perfectly fine. This is totally up to you. Temperature wise I felt great most days as I had multiple layers I could adjust easily and varying thickness pants with thermal layers. I had a good number of snacks, cards, and extra medical supplies when we all started to get hit by an illness later in the trip.
Other tips
Make sure to schedule extra days before and after your trek to account for delays at Lukla Airport. Flights often get delayed or cancelled as they will only operate during good weather. Make sure your guide is on top of your flight status – Nepal is a place where connections and/or persistence is the key to getting what you want. Our guide was local with many connections and despite some delays and bad weather, was able to get us on flights on the days we wanted, while we heard many stories of other people being stuck for multiple days.
Guides
There are many professional guiding companies for EBC. I can’t say too much on this topic, as we had our friend as a guide, who is originally from Nepal and is from a long family line of mountaineers! It really helped to have him work his local magic while trekking. If anyone wants a referral, feel free to reach out!
Kathmandu
We spend 1 day in Kathmandu beforehand and 2 days after checking out the stupas and other city sights, as well as generally recovering. I spent 1 night at the Fairfield Kathmandu which was quite nice and central to the city, though the gym was minimal (at least it had a combo pullup / pulldown machine) and there wasn’t actually a pool. It was well priced at $63 USD a night. I also saw a Hyatt Place and a Holiday Inn Express for similar rates. The Marriott and Hyatt Regency are a bit more, at around $160 USD a night. When flying out, I found out the airport is configured strangely – immigration is before security, and all lounges are between the two – there is no lounge after security. There’s also no duty-free shop at all, only a duty-paid shop where I bought a bottle of Khukuri Rum. Kathmandu definitely a developing city, but also vibrant, cheap, and fairly safe with good services and food. I found that Nepalese locals are one of the most kind people in the world 🙂
Hope these tips help for any future trip to the Himalayas! Otherwise, have fun, enjoy the views, and stay healthy!



Great information, thank you for sharing